다운로드 :
Installation
Follow these steps to install the filter.
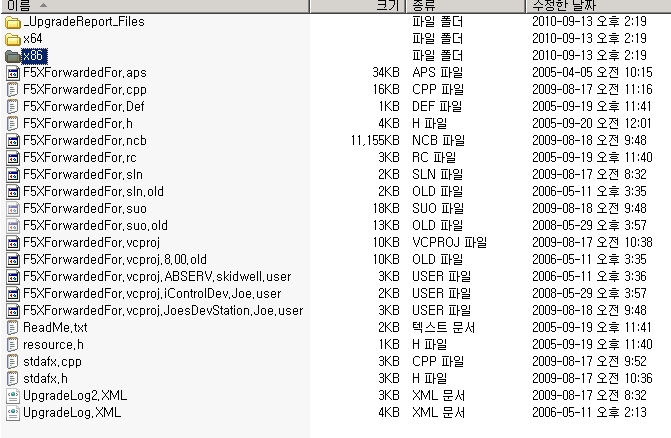
1. Download and unzip the F5XForwardedFor.zip distribution.
2. Copy the F5XForwardedFor.dll file from the x86\Release or x64\Release directory (depending on your platform) into a target directory on your system. Let's say C:\ISAPIFilters.
3. Ensure that the containing directory and the F5XForwardedFor.dll file have read permissions by the IIS process. It's easiest to just give full read access to everyone.
4. Open the IIS Admin utility and navigate to the web server you would like to apply it to.
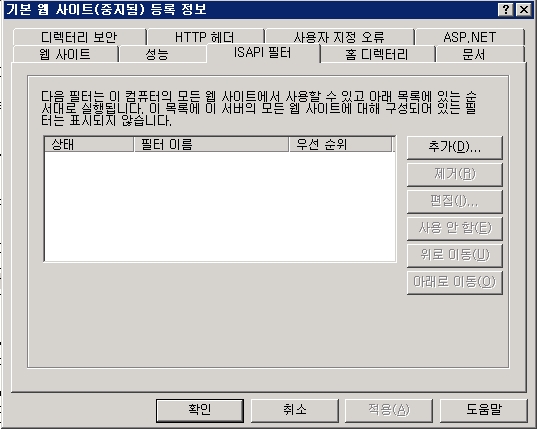
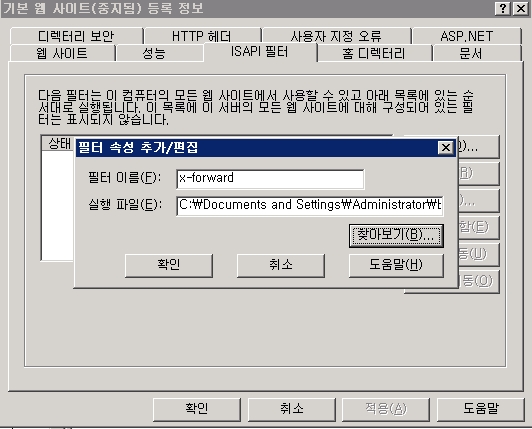
5. For IIS6, Right click on your web server and select Properties. Then select the "ISAPI Filters" tab. From there click the "Add" button and enter "F5XForwardedFor" for the Name and the path to the file "c:\ISAPIFilters\F5XForwardedFor.dll" to the Executable field and click OK enough times to exit the property dialogs. At this point the filter should be working for you. You can go back into the property dialog to determine whether the filter is active or an error occurred.
6. For II7, you'll want to select your website and then double click on the "ISAPI Filters" icon that shows up in the Features View. In the Actions Pane on the right select the "Add" link and enter "F5XForwardedFor" for the name and "C:\ISAPIFilters\F5XForwardedFor.dll" for the Executable. Click OK and you are set to go.
파일을 다운받고 압축을 푼다.
2 .OS에 따라서 32비트 / 64비트 구별해서... (Release 폴더)
IIS ISAP필터에 dll 파일을 추가
※ F5XForwardedFor.dll file have read permissions by the IIS process. It's easiest to just give full read access to everyone
- 그냥 압축풀고 바로 ISAPI 필터에 추가하면 추가되지 않음
- F5XForwardedFor.dll 의 파일의 권한을 IIS 프로세스 혹은 모든사용자 권한부여